Difference between revisions of "UTA PDF Parser"
(→See Also) |
|||
| Line 5: | Line 5: | ||
The settings page for the UTA PDF Parser is accessed through the [[Global Settings]] page, under the [[Business & System Configuration]] section. | The settings page for the UTA PDF Parser is accessed through the [[Global Settings]] page, under the [[Business & System Configuration]] section. | ||
Instructions on how to configure a new PDF Parser are available at this page: [[UTA PDF Parser - Configuration Instructions]]. | Instructions on how to configure a new PDF Parser are available at this page: [[UTA PDF Parser - Configuration Instructions]]. | ||
| − | A video describing the PDF Parser functionality has also been prepared and is available here: [[UTA PDF Parser - Video]] | + | A video describing the PDF Parser functionality has also been prepared and is available here: [[PDF_Parser_-_Video|UTA PDF Parser - Video]] |
The following is a run-through of the UTA PDF Parser functionality as implemented on a demonstration copy of SmartSimple. | The following is a run-through of the UTA PDF Parser functionality as implemented on a demonstration copy of SmartSimple. | ||
Revision as of 09:13, 30 September 2013
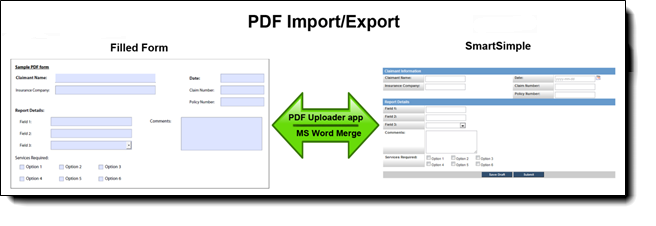
SmartSimple's UTA PDF Parser allows for fillable forms in PDF format to be downloaded from SmartSimple, completed offline and then re-uploaded to create records within SmartSimple.
The settings page for the UTA PDF Parser is accessed through the Global Settings page, under the Business & System Configuration section. Instructions on how to configure a new PDF Parser are available at this page: UTA PDF Parser - Configuration Instructions. A video describing the PDF Parser functionality has also been prepared and is available here: UTA PDF Parser - Video
The following is a run-through of the UTA PDF Parser functionality as implemented on a demonstration copy of SmartSimple.
Contents
Example of Implemented UTA PDF Parser
Generating the PDF
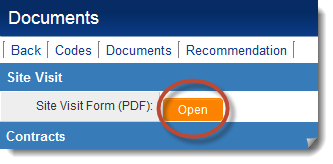
Access the PDF by opening up a grant record. Click on the Documents tab located on the top.
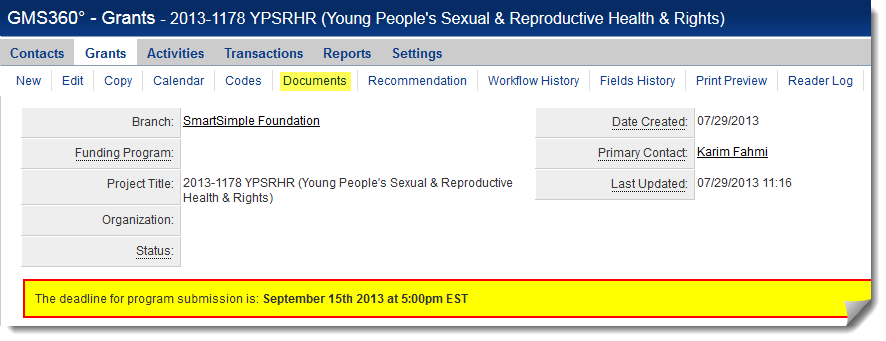
Locate “Site Visit Form” and click Open to generate a PDF. This PDF will be pre-populated with the client organization details. At the very bottom will be two fields which store unique identifiers for the grant.
Filling Out the PDF
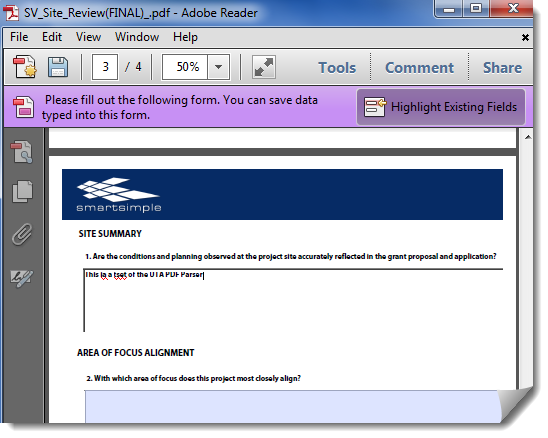
- Open the PDF using Adobe Reader. Be sure to have the latest version.
- The PDF contains sample questions from the following sections:
- Summary
- Area of Focus Alignment
- Eligibility
- Evaluation
Each of these questions corresponds with the matching fields located within SmartSimple.
When finished filling out the fields, in Adobe Reader go to File -> Save.
Uploading the PDF
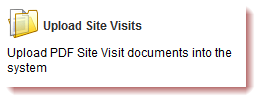
Within the Staff role, under the category of PDF Uploader, click on the icon labeled PDF Uploader to access the basket.
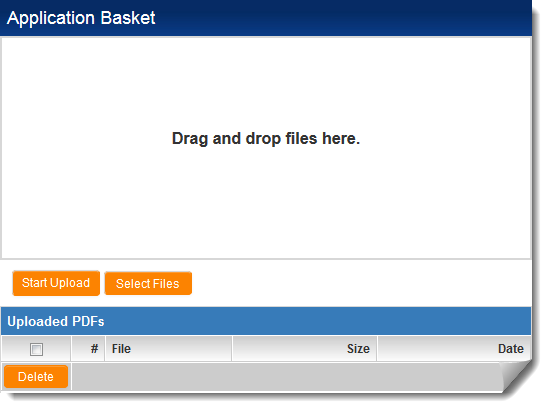
Drag and drop your filled out PDF into the area shown below in order to upload the file.
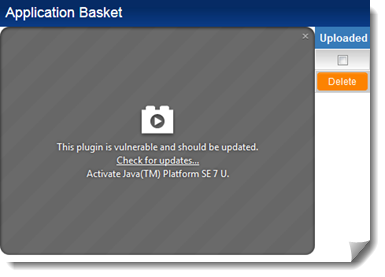
If you run into this error in Firefox, you will need to update your Java or just click on the gray on the box to continue.
Once the file is uploaded, the parser runs every 5 minutes and will process the file. Once the file has been processed, it will no longer appear in the list of uploaded PDFs when you refresh the page.

3) Once the PDF has been processed, navigate to the Grant to view the record.
The parser performs the following functions:
- Creates a new Level 2 record called "Site Visit" and sets status to "Submitted"
- Attaches a copy of the uploaded PDF into a multiple file field located at the bottom of the Level 2 record.
- The L2 record will have the following sections populated with data:
- Summary
- Question 1
- Area of Focus Alignment
- Question 2
- Question 3
- Eligibility
- Question 4
- Question 5
- Evaluation
Re-uploading the file to create a new record
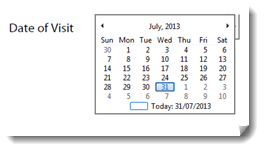
Change the Date of Visit in order to have the application create a new record if re-uploading the same file
