Assignment List View
Contents
Overview
The Assignment List View feature adds the ability to assign many objects to many objects. Now assigning one or many contacts, organizations, and even Level 1s (includes Level 2 and 3 records) to one or more Level 1s is a as simple as point and click. Once fully implemented, this enhancement will enable the assignment of many objects (like users, organizations, Level 1, Level 2, Level 3s), to many objects. Phase one of this enhancement (April 2016 Upgrade) will add the ability to attach one or many contacts to Level 1s.
Configuring the Assignment List View
Add an Assignment Type
To begin assigning users and to UTA objects, an assignment type must first be added.
- Choose the desired UTA, click on the Settings icon.
- Navigate to the Level One.
- In the Level One Provider settings, click on the Assignment List View Settings hyperlink.
- The Assignment Types page is displayed.
- Click on the + New Assignment Type icon.
- Complete the New Assignment Type page.
- Click Save.
Options
- New Assignment Type options include:
- Display Order - Determines the order that the field will be displayed on Assignment Types page list.
- Assignment Name - Specifies the name of assignment type being created.
- Description - Definition and general description of the assignment type.
- View Roles - Specify the user roles able to view the assignment type feature.
- Assign - Specify the type of object that will be assigned.
- Assign As - Specify the type of objects that objects will be assigned to.
- Trigger Workflow - Add a checkmark if this assignment task will trigger a workflow.
- Run Template Formula - Add a checkmark if this assignment task run a template formula.
Assigning the Objects to Objects

This image illustrates how Objects are assigned to other system objects. The above animation is 11sec long and will repeat 2 times, refresh the browser to repeat.
![]()
The assignment list view icon illustrated (Above)'
- Navigate to the UTA where you've added the New Assignment Type. If this step has not been completed please see the section Add an Assignment Type.
- From the navigation bar click on the Assignment List View icon.
- The Assignment List View page is displayed. This page is comprised of two list views arranged side to side. The list view on the left displays users. The list view on the right displays level 1's. The assignment type(s) that where configured in the previous section will appear in the Assignments drop down box. The Assigned Role drop down box allows the selection of specific roles.
- Assign Users and Level One's by dragging and dropping each user and Level One to the sections titled Drag Users Here and Drag Level One Here.
- Click on the Continue button
- The Confirm Assignment lightbox is displayed. This page summarizes that assignments were requested.
- Click on the Assign button to complete the assignment.
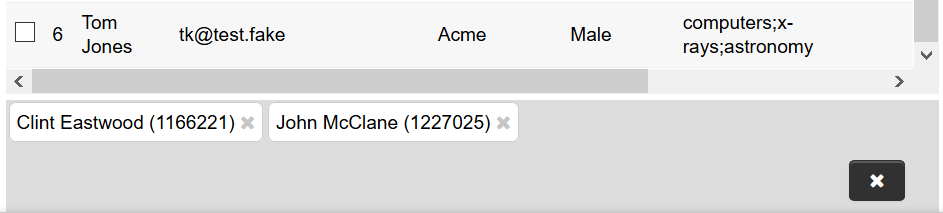
Removing Objects from the Sections
- To remove multiple objects from the sections titled Drag Users Here and Drag Level One Here, click on the button in the corner and the objects will be removed from that section.
Notes
- Phase one of this enhancement (April 2016 Upgrade) will add the ability to attach one or many contacts to Level 1s.