Difference between revisions of "UTA Calendar Template"
(→Controlling which Types and Statuses Display on the Calendar) |
|||
| (23 intermediate revisions by 2 users not shown) | |||
| Line 1: | Line 1: | ||
| + | {{l2}}s associated with a {{l1}} in a [[UTA]] can be displayed in a SmartSimple calendar format. The setting to define the template used for the calendar display of the {{l2}} activities is on the [[UTA Settings - Miscellaneous]] tab. The fields and values to be displayed on the calendar can be customized using the '''UTA Calendar Template'''. | ||
| − | + | To enable the UTA Calendar, go to the [[UTA Settings - Entity]] tab and check off the "Enable Calendar" option. | |
| + | [[Image:EnableCalendarwithoutdrop.png|link=]] | ||
| + | |||
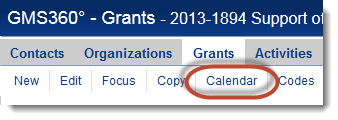
| + | The Calendar tab will then be visible at the top of every {{l1}} page: | ||
| + | |||
| + | [[Image:CalendarTab.png|link=]] | ||
| + | |||
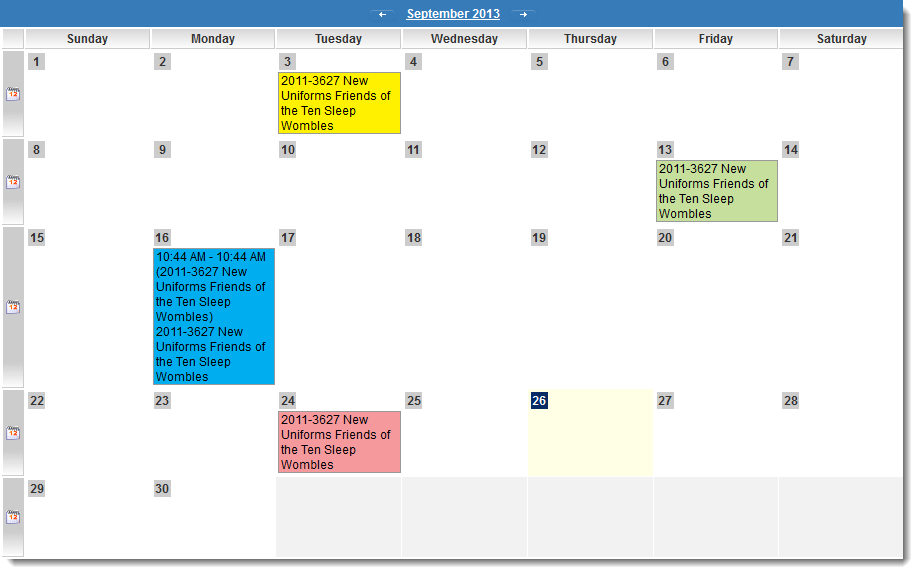
| + | By default, the template used for the calendar entries will show the ''Start Time'', ''End Time'' and ''Parent name'' [[standard fields]], as follows: | ||
| + | |||
| + | [[Image:UTACalendarDefaultTemplate.png|link=|500px]] | ||
| + | |||
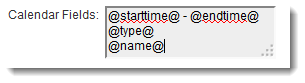
| + | If the following settings are entered into the ''UTA Calendar Template''...<br /> | ||
| + | [[Image:CalendarFieldsSetting.png|link=]] | ||
| + | |||
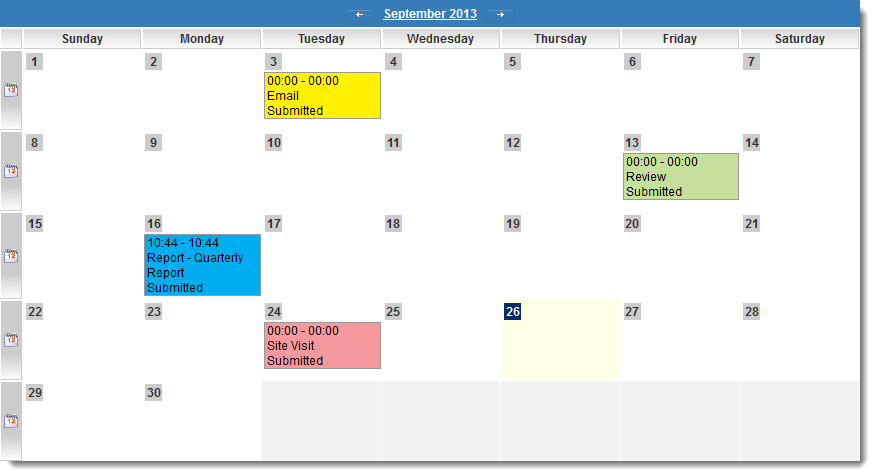
| + | ...the Calendar entries will appear as follows: | ||
| + | |||
| + | [[Image:UTACalendarAlternateTemplate.png|link=|500px]] | ||
| + | |||
| + | '''Note''': entering a new ''UTA Calendar Template'' will overwrite the existing default template. | ||
| + | |||
| + | The calendar entries can be color-coded using either the color settings on the [[type]] or the [[status]] of the listed {{l2}} activities. This setting is made on the [[UTA Settings - Entity]] tab. | ||
| + | |||
| + | [[Image:EnableCalendar.png|link=]] | ||
| + | |||
| + | Users are able to switch between event coloring based on [[Event Types|event type]] or calendar type on the fly from a drop down menu at the top of the calendar. | ||
| + | |||
| + | [[Image:Calendar_type.png|link=]] | ||
| + | |||
| + | ==Examples of Configuration== | ||
This template supports the [[Web Page View Field|web page view]] variables including [[sslogic]]. | This template supports the [[Web Page View Field|web page view]] variables including [[sslogic]]. | ||
<br><br> | <br><br> | ||
| − | ''' | + | '''Example:''' Presume a Level 2 Type called '''Site Visits''', and a custom field on that Level 2 Type called '''Site Location''' with a [[custom field ID]] of '''12345'''. <br> |
| − | You can use the following syntax on the "Calendar Fields" section of the UTA | + | You can use the following syntax on the "Calendar Fields" section of the [[UTA Settings - Miscellaneous|Miscellaneous]] tab of the [[UTA Settings Page]]: |
::''<!--@sslogic('@type@'='Site Visits')-->@#12345#@'' | ::''<!--@sslogic('@type@'='Site Visits')-->@#12345#@'' | ||
| Line 21: | Line 50: | ||
Level 1 fields can be included using ''@parent.''fieldname''@'' | Level 1 fields can be included using ''@parent.''fieldname''@'' | ||
| − | + | ||
| − | See | + | ==Controlling which Types and Statuses Display on the Calendar== |
| + | * To exclude any given [[Types|Level 2 Type]] from the Calendar, click the Lookup button next to ''Calendar Status'' on the [[Types#Type_Settings|Type settings page]] and select ''None''. | ||
| + | * The ''Calendar Status'' setting can be also be used to set the statuses, per Type, that are displayed on the Calendar. | ||
| + | |||
| + | ==See Also== | ||
| + | * The [[Web Page View Field Variables]] page for the full list of variables supported. | ||
| + | * [[SSlogic]] | ||
| + | * [[UTA Settings - Miscellaneous]] | ||
| + | * [[Calendar Event Preview Default Template]] | ||
[[Category:Universal Tracking Application]][[Category:Calendars]] | [[Category:Universal Tracking Application]][[Category:Calendars]] | ||
Latest revision as of 13:05, 8 October 2014
Level 2s associated with a Level 1 in a UTA can be displayed in a SmartSimple calendar format. The setting to define the template used for the calendar display of the Level 2 activities is on the UTA Settings - Miscellaneous tab. The fields and values to be displayed on the calendar can be customized using the UTA Calendar Template.
To enable the UTA Calendar, go to the UTA Settings - Entity tab and check off the "Enable Calendar" option.
![]()
The Calendar tab will then be visible at the top of every Level 1 page:
By default, the template used for the calendar entries will show the Start Time, End Time and Parent name standard fields, as follows:
If the following settings are entered into the UTA Calendar Template...
...the Calendar entries will appear as follows:
Note: entering a new UTA Calendar Template will overwrite the existing default template.
The calendar entries can be color-coded using either the color settings on the type or the status of the listed Level 2 activities. This setting is made on the UTA Settings - Entity tab.

Users are able to switch between event coloring based on event type or calendar type on the fly from a drop down menu at the top of the calendar.

Examples of Configuration
This template supports the web page view variables including sslogic.
Example: Presume a Level 2 Type called Site Visits, and a custom field on that Level 2 Type called Site Location with a custom field ID of 12345.
You can use the following syntax on the "Calendar Fields" section of the Miscellaneous tab of the UTA Settings Page:
- <!--@sslogic('@type@'='Site Visits')-->@#12345#@
- <!--@end-->
This will only display the Site Location field (field ID 12345) for Site Visits Level 2 type activities on the Level 1 calendar.
With multiple conditions:
- <!--@sslogic('@type@'='Site Visits' and '@statusname@'!='Closed')-->@#12345#@
- <!--@end-->
Will do the same as above, but only if the Status of the Level 2 item is not Closed.
Level 1 fields can be included using @parent.fieldname@
Controlling which Types and Statuses Display on the Calendar
- To exclude any given Level 2 Type from the Calendar, click the Lookup button next to Calendar Status on the Type settings page and select None.
- The Calendar Status setting can be also be used to set the statuses, per Type, that are displayed on the Calendar.
See Also
- The Web Page View Field Variables page for the full list of variables supported.
- SSlogic
- UTA Settings - Miscellaneous
- Calendar Event Preview Default Template